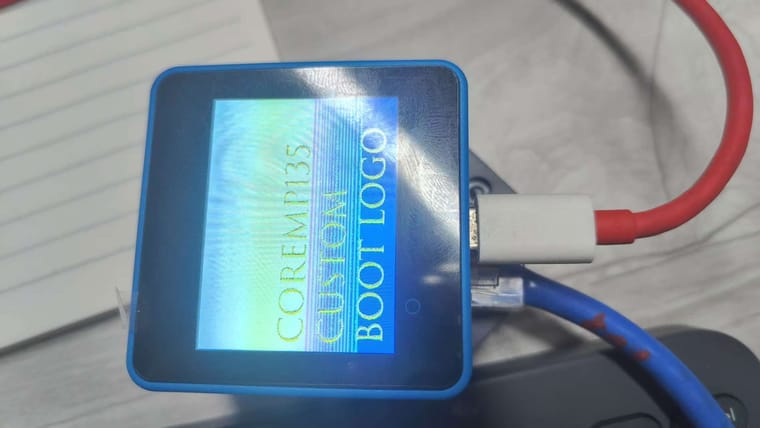
Based on the official StickCPlus code.
https://drive.google.com/file/d/1fKeBRxvAmH44b_zIxOOjyv3MeaxYMzkR/view?usp=sharing
Best posts made by kuriko
-
RE: myCobot 320 UIFlow comunication problems
@teastain
Because the entire framework of UiFlow1 can no longer support the large number of new devices and new functions, UiFlow2 is equivalent to redoing all the functions.
No there is no UiFlow3 -
RE: Help: A fatal error occurred: No serial data received.
@gleiden
Generally, No serial data received is because the ESP32 has not entered download mode successfully. -
RE: M5 Dial Portable Power Questions
Hi @scoobysnax
Yes, StampS3 does not have a built-in fuel gauge.
I suggest you make a power supply device yourself, or you can take a look at this new M5StackTimerPWR: https://docs.m5stack.com/en/unit/Unit-TimerPWR
From the official documents and the actual photos, the battery connector of Dial is indeed 1.25mm-2P. I don't understand why the connector you bought is incompatible, or you can take a look at the official power terminal specification: https://m5stack.oss-cn-shenzhen.aliyuncs.com/resource/docs/products/core/M5Dial/1.25WT-2P.pdf. -
Just find out a way to convert UiFlow microPython codes into .bin file
The method is very simple: download the UiFlow firmware source code, copy the microPython code generated in UiFlow to main.py, change the boot option so that the device runs main.py after powering on, compile the UiFlow firmware, and you will get a .bin file running directly into main.py.
Step 1: Setting up ESP-IDF environment and download UiFlow source code
https://github.com/m5stack/uiflow-micropython
Follow the "How to build" instrument to setting up ESP-IDF environment and clone the UiFlow source code.Step 2: Change the main.py file and modify boot option
Open up location /m5stack/fs/user/main.py and paste your code generated by UiFlow.
Open up location /m5stack/fs/user/boot.py and edit line 37-40try: boot_option = nvs.get_u8("boot_option") except: boot_option = 1 # default
into
boot_option = 0
By editing these codes, your device will directly runs main.py after booting. Don't forget to save the files.
Step 3: Build the firmware and flash into your device
Just follow the "Building the firmware" instrument, it will generate a .bin file in /m5stack/build-%YOUR_BOARD_NAME%/ and flash it into your device
Now you have your own .bin with microPython codes, you can publish it in the "User Custom" of M5Burner or other places.If there is any better or easier way, please discuss it with me.
-
RE: How to change the CoreMP135 boot logo image?
@ajb2k3
okay... after few hours of digging, I found it out that you must save the .bmp file as 16bit-depth (RGB565), mspaint does not have that feature so i got it worked by using Photoshop
-
RE: Atomic CAN Base (SKU:A103) is in UiFlow2.0?
@vxgvxg
Yes, these Bases will be adapted to UiFlow2, give it some time -
RE: UniFlow2 v2.1.8 Power.getBatteryLevel() Returning 0
@Rango
known issue, fixing