-
@janseta If you have ezTime and turn on the clock (it'll be a
#define), M5ez will use ezTime to show an on-screen clock. And naturally if you include it in your own sketch you can use the features of it in your own code as well. Soon... -
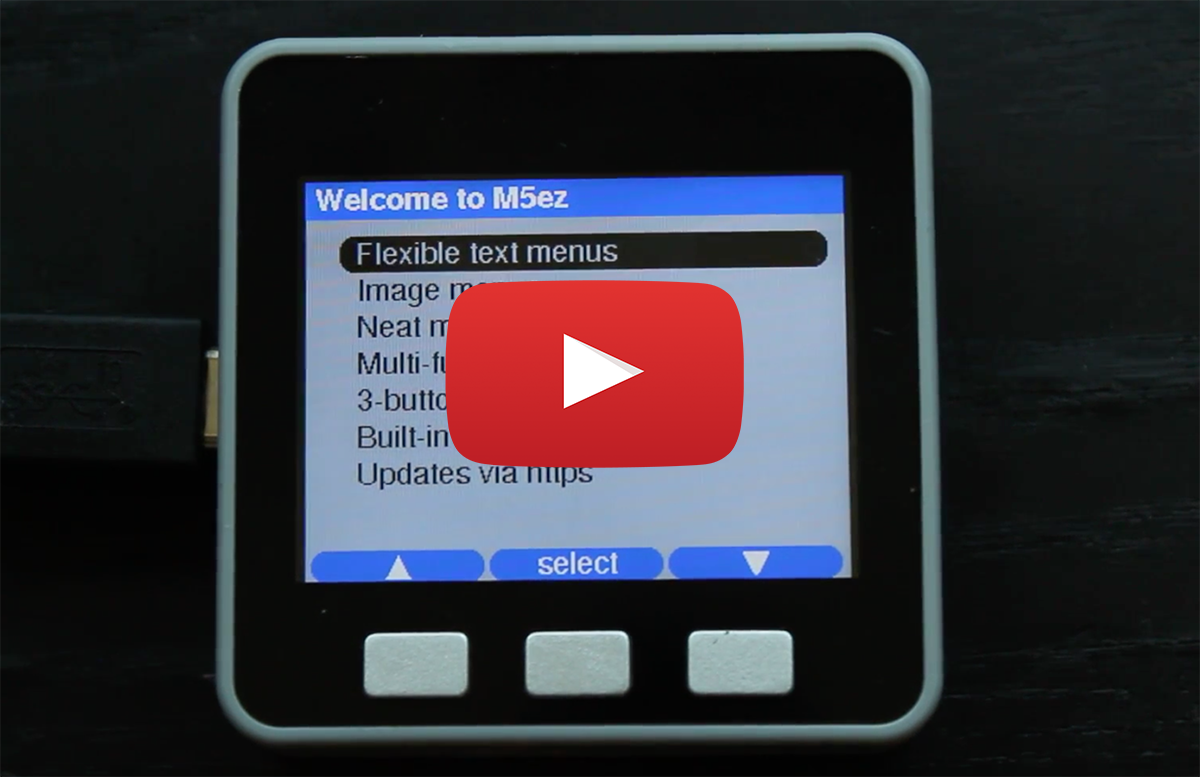
Hi everyone,
I just released version 1.3.1 of M5ez: it can now use images from program flash, SD-card and SPIFFS in image menus.The documentation says how, and there's an example that shows it in action.
-
Hi Rop,
I finaly found some time and as non programmer i did manage to use your code and make it talk mqtt just copy and pasted some code from you and the pubsub lib and it does work.
Below the code i used to control my domoticz setup thru mqtt :
I had to make some adjustment to PubSubClient.h and made some values higher like socket timeout, max packet size and degraded version.
So i guess it isnt that hard after all. To make sure you understand that i am a compete noob and dont even know what language i have been copy and pasting.Next try will be to use the ezProgressBar and let that drive the dimmer based on pb.value. But that will be a real challenge for me as copy and paste coder.
adjustment to PubSubClient.h:
#define MQTT_SOCKET_TIMEOUT 60
#define MQTT_MAX_PACKET_SIZE 1024
#define MQTT_VERSION_3_1 3Now the code below runs fine sofar ( 15 mins or so )
#include <M5Stack.h> #include <M5ez.h> #include <WiFi.h> #include <PubSubClient.h> const char* ssid = "xxxxxx"; const char* password = "xxxxxxxxxxx"; const char* mqttServer = "xxxxxxxxxxxxxx"; const int mqttPort = 1883; const char* mqttUser = "xxxxxxxxxxxxxxxxt"; const char* mqttPassword = "xxxxxxxxxxxxxx"; WiFiClient esp32Client; PubSubClient client(esp32Client); long lastMsg = 0; char msg[50]; int value = 0; void setup() { Serial.begin(115200); WiFi.begin(ssid, password); while (WiFi.status() != WL_CONNECTED) { delay(500); Serial.println("Connecting to WiFi.."); } Serial.println("Connected to the WiFi network"); client.setServer(mqttServer, mqttPort); while (!client.connected()) { Serial.println("Connecting to MQTT..."); if (client.connect("esp32Client", mqttUser, mqttPassword )) { Serial.println("connected"); } else { Serial.print("failed with state "); Serial.print(client.state()); delay(2000); } } m5.begin(); } void loop() { ezMenu myMenu("Main menu"); myMenu.addItem("lamp bank aan", mainmenu_one); myMenu.addItem("lampbank uit", mainmenu_two); myMenu.addItem("dimmer keukenlamp", mainmenu_three); myMenu.run(); } void mainmenu_one() { client.publish("domoticz/in", "{\"command\": \"switchlight\", \"idx\": 136, \"switchcmd\": \"On\", \"level\": 100}"); Serial.println("mqtt send"); } void mainmenu_two() { client.publish("domoticz/in", "{\"command\": \"switchlight\", \"idx\": 136, \"switchcmd\": \"Off\", \"level\": 0}"); Serial.println("mqtt off send"); } void mainmenu_three() { ezMenu subMenu("Submenu"); subMenu.addItem("Keuken off", submenu_off); subMenu.addItem("Dim 10%", submenu_one); subMenu.addItem("Dim 20% ", submenu_two); subMenu.addItem("Dim 30%", submenu_three); subMenu.addItem("Dim 40%", submenu_four); subMenu.addItem("Dim 50%", submenu_five); subMenu.addItem("Dim 60%", submenu_six); subMenu.addItem("Dim 70%", submenu_seven); subMenu.addItem("Dim 80%", submenu_eight); subMenu.addItem("Dim 90%", submenu_nine); subMenu.addItem("Dim 100%", submenu_ten); subMenu.addItem("Back | Back to main menu"); subMenu.upOnFirst("last|up"); subMenu.downOnLast("first|down"); subMenu.run(); client.loop(); } void submenu_one() { client.publish("domoticz/in", "{\"command\": \"switchlight\", \"idx\": 143, \"switchcmd\": \"Set Level\", \"level\": 10}"); Serial.println("mqtt send"); } void submenu_two() { client.publish("domoticz/in", "{\"command\": \"switchlight\", \"idx\": 143, \"switchcmd\": \"Set Level\", \"level\": 20}"); Serial.println("mqtt send"); } void submenu_three() { client.publish("domoticz/in", "{\"command\": \"switchlight\", \"idx\": 143, \"switchcmd\": \"Set Level\", \"level\": 30}"); Serial.println("mqtt send"); } void submenu_four() { client.publish("domoticz/in", "{\"command\": \"switchlight\", \"idx\": 143, \"switchcmd\": \"Set Level\", \"level\": 40}"); Serial.println("mqtt send"); } void submenu_five() { client.publish("domoticz/in", "{\"command\": \"switchlight\", \"idx\": 143, \"switchcmd\": \"Set Level\", \"level\": 50}"); Serial.println("mqtt send"); } void submenu_six() { client.publish("domoticz/in", "{\"command\": \"switchlight\", \"idx\": 143, \"switchcmd\": \"Set Level\", \"level\": 60}"); Serial.println("mqtt send"); } void submenu_seven() { client.publish("domoticz/in", "{\"command\": \"switchlight\", \"idx\": 143, \"switchcmd\": \"Set Level\", \"level\": 70}"); Serial.println("mqtt send"); } void submenu_eight() { client.publish("domoticz/in", "{\"command\": \"switchlight\", \"idx\": 143, \"switchcmd\": \"Set Level\", \"level\": 80}"); Serial.println("mqtt send"); } void submenu_nine() { client.publish("domoticz/in", "{\"command\": \"switchlight\", \"idx\": 143, \"switchcmd\": \"Set Level\", \"level\": 90}"); Serial.println("mqtt send"); } void submenu_ten() { client.publish("domoticz/in", "{\"command\": \"switchlight\", \"idx\": 143, \"switchcmd\": \"Set Level\", \"level\": 100}"); Serial.println("mqtt send"); } void submenu_off() { client.publish("domoticz/in", "{\"command\": \"switchlight\", \"idx\": 143, \"switchcmd\": \"Off\", \"level\": 0}"); Serial.println("mqtt send"); }``` -
@rop
I’m completing my first project using M5ez/M5stack. A remote control.
I would like to indicate two things on a menu, the current state of the remote equipment and the next state (that will become the current state when the “select” button is pressed and a ESP-Now message is sent/acknowledged).
The next state is your select item black cursor line with reverse text but people might think that is the current state of the remote equipment—if they forget to press “select”. I could automatically send the message after dwelling on a selection after a few seconds like a tv remote. But I’d like to make them explicitly press “select” with this remote equipment.
I now indicate current state by putting it as the first item on the menu and using bold text but a green check mark ✅ or dot ⚫️ would be more assertive. Unless I’m overlooking a better method.
Thanks again for M5ez.
@bobolink -
I am failing hard on the progressbar, is there any other pointer or example people could share.
I have been reading for a few days, but i just dont get it.
I am not sure about pb.value(float val)
i want to add or distract 10 on a button push, but i am failing hard.
          if (btnpressed == "up")
          break;

          else (btnpressed == "left"); {
          pb = pb + 10; ;
          }

          if (btnpressed == "right"); {
          pb = pb + 10;
           }
Would be nice to abuse the progressbar for things like volume or dimmer status and if any one has a pointer. thanks in advance.
-
@Rop
Ouch!
I forgot M5EZ blocks!
Doesn’t lend itself to a controller at all.
Starting over. -
Okay i can get some value in to pb now and raise it once with + 10 by pushing a button and then i stall.
void add(){

      ezProgressBar pb ("Dimmer", "Dims te kitchen light", "LEFT#UP#RIGHT");
       pb.value(val);
  while (val <= 101 && val >= 1 ) {
        String btnpressed = ez.getButtons();
    if (btnpressed == "UP") loop();
    if (btnpressed == "LEFT") {
        pb.value(val - 10);}
    if (btnpressed == "RIGHT") {
        pb.value(val + 10);
        }
  }

}
but i am not giving in until i got this running.
Any one that can give this noob some pointers ? It doesn't have to be a fixed solution but after some days of learning i am kind of blinded
-
@r_255 Whoops... I just noticed yesterday that progressBar is broken in that it can only go up, not down. Expect a fix with the all new M5ez 2.0, out as soon as I am done. (It's 85% there, a few days more...)
2.0 will also have backlight setting, a clock in the header bar as well as definable header widgets and the ability to register functions to be part of M5ez's idle loop.
-
Thats good to know, so it could be that it isnt me... Learned a lot the past days! Thanks
Still have some issues on loosing connection over time, but not sure if that is me or the m5stack. Am i the only one ?
PS: backlight dimming would be nice on a ProgressBar, if it isnt to much work.
-
@bobolink
I solved the blocking issue by putting the UI on one core and the communications (esp-now) on the other. -
Thanks bobolink, i will find some lessons about using the 2 cores of the esp32.
Cheers! -
@r_255
Good luck. I’ll try to post a skeleton example somewhere. But you might start here:
YouTube
Research a mutex for sharing data between processes.
Also, @Rop says he is adding registration of functions to execute from his idle loop.I think M5Stack and M5ez have a great future in remote control of all sorts of things. Using the WiFi radio, IR, BLE, UART, etc.
-
@bobolink
yeah, i did find the guy with the funny accent ;o) video including the skeleton file.. thanks for the link!I totaly agree! It might not be made with the intention to be remote controller, but it could be a nice one.
Not sure about battery life, but there is still much to gain on that subject i guess. Screen brightness for instance will help a lot.
I guess there are also a lot of things you could hook up on to the slider
Like a dimmer, volume controller or even stuff like tv channels, Where a double press could be 10 up or 10 channels down. where a short press is just one.
Or in a horizontal menu indicating where you are.Not sure if the ezslider bar could be re positioned or combined with a image, but i guess we will find a way.....
Still wondering how i could do a rgb device in a easy way besides giving every color its own page.:O)
-
Just released: M5ez 2.0.0
- Simply install from the Arduino Library Manager..
- But then be ready to make some changes to existing code
From the User Manual:
What's new in M5ez 2.x ?
- Many user-selectable settings, including backlight, clock/timezone, FACES keyboard, etc.
- Theme values can be changed at runtime, multiple thmes can be loaded; a theme chooser then shows up in the settings
- Header can have user-defined widgets (internally used for clock and wifi signal display)
- The canvas now inherits from the Print class, so everything print and println could do, you can now also do on the canvas.
- The canvas scrolls (unless you don't want it to)
- you can create your own events that get ran in the M5ez button wait loops
- Many bugs got fixed
- Code is a lot cleaner now, easier to add things without the sometimes ad-hoc and organically grown constructs of M5ez 1.x
However, all of this comes with some changes to the names of common functions in M5ez. Generally things are more consistent now, but that does mean they are different: your M5ez 1.x code will not run without modifications. I am not planning an M5ez 3.0 at this time, so expect no further modifications to be needed to existing code for a while.
Converting code from M5ez 1.x to 2.x
To convert code form 1.x to 2.x, it is recommended you start by replacing the following functions:
M5ez 1.x M5ez 2.x ez.clearScreen()—> ez.screen.clear()ez.background()—> ez.screen.background()ez.drawHeader(—> ez.header.show(ez.removeHeader()—> ez.header.hide()ez.clearCanvas()—> ez.canvas.clear()ez.canvasTop()—> ez.canvas.top()ez.canvasBottom()—> ez.canvas.bottom()ez.canvasLeft()—> ez.canvas.left()ez.canvasRight()—> ez.canvas.right()ez.canvasWidth()—> ez.canvas.width()ez.canvasHeight()—> ez.canvas.height()ez.print(—> ez.canvas.print(ez.println(—> ez.canvas.println(ez.drawButtons(—> ez.buttons.show(ez.getButtons(—> ez.buttons.poll(ez.waitForButtons(—> ez.buttons.wait(Then, check all your print functions: they no longer support the setting of font, location or color in the statement itself: these need to be done with
ez.canvas.font,ez.canvas.coloretc. (Print is much nicer now because the canvas object inherited from the Print class, and because the canvas can scroll now.)Then simply fix any remaining problems by first fixing any compiler complaints with this document in hand, and then walk through all of your program's functionality to see if everything works as expected.
Please consider starring the repository: it helps people find M5ez.
-
Can any users of M5ez that are using it with an M5Stack Fire briefly report whether any LED bars display spurious behaviour? I ave one report of an LED bar staying blue, and one case (my own Fire) where they stay off.
Thanks...
-
Tested M5ez-demo on a Fire. Compiled with Arduino 1.8.7 with PSRAM=enabled. No issue, no Neopixel, no crackling sound during boot, everything flawlessly.
Also the OTA Update worked. Maybe the user should try the included OTA application and exclude compiling errors by flashing your github binary? -
@playthegame excellent report, and good suggestion to try OTA. Thanks...
-
This is Awesome! Great work!
I'm wondering if there something similar for MicroPython?
Or are there any plans creating a python version for M5ez?
Would be amazing! -
@yurikleb I haven't really played with micropython much: I built M5ez in part because micropython didn't really run well on the memory-restrained M5Stack I had. I know things ar edifferent with the Fire, and it wouldn't be crazy hard to create python bindings for M5ez. I just haven't done any python bindings before, and I'd prefer to stay focused on making M5ez better instead. But I will gladly support anyone else that feels like doing the python bindings.
(I even had crazy thoughts of a Web-IDE where you can essentially build the entire interface in the browser, What You See Is What You Get. But seems a little ambitious and not sure how much actual use it would get.)
-
@rop Web-IDE sounds cool, have you seen the M5Flow IDE?
It seems to be python based, and the firmware comes with a module called m5ui which has some basic UI elements you can work with, and it also has a WYSIWYG editor.
Was trying to find the m5ui module on github but had no luck.
Hello! It looks like you're interested in this conversation, but you don't have an account yet.
Getting fed up of having to scroll through the same posts each visit? When you register for an account, you'll always come back to exactly where you were before, and choose to be notified of new replies (either via email, or push notification). You'll also be able to save bookmarks and upvote posts to show your appreciation to other community members.
With your input, this post could be even better 💗
Register Login