TL;DR: The factory certificate in slot 10 is in a compressed format that AWS IoT rejects. You need to generate a new properly-formatted certificate. Full working example here: https://github.com/scarolan/grafana-core2aws-iot
The Problem Everyone Hits
If you've tried to use the Core2 for AWS with its built-in ATECC608 secure element, you've probably hit this error when registering the certificate:
CertificateValidationException: The certificate could not be parsed
You're not crazy. The factory certificate in slot 10 is stored in Microchip's compressed format with:
- Empty issuer/subject fields
- Invalid dates (Aug 28, 2005)
- Missing X.509 structure
AWS IoT's register-certificate-without-ca API rejects it outright.
The Solution
Generate a new properly-formatted certificate that still uses the locked private key in slot 0 (so you maintain hardware security):
1. Clone the Working Example
git clone https://github.com/scarolan/grafana-core2aws-iot
cd grafana-core2aws-iot/extras/generate_cert
2. Flash the Certificate Generator
pio run -t upload --upload-port COM3
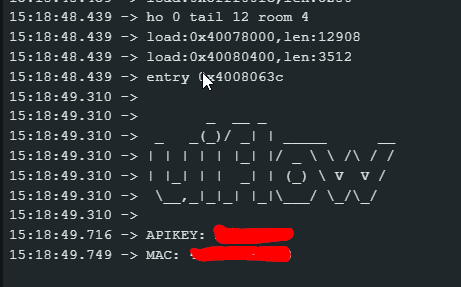
pio device monitor --port COM3 --baud 115200
3. Save the Certificate
Copy the certificate output (including -----BEGIN CERTIFICATE----- lines) to a file.
4. Register with AWS IoT
aws iot register-certificate-without-ca \
  --certificate-pem file://device_new.pem \
  --status ACTIVE \
  --region us-east-1
Then attach your policy and thing as usual.
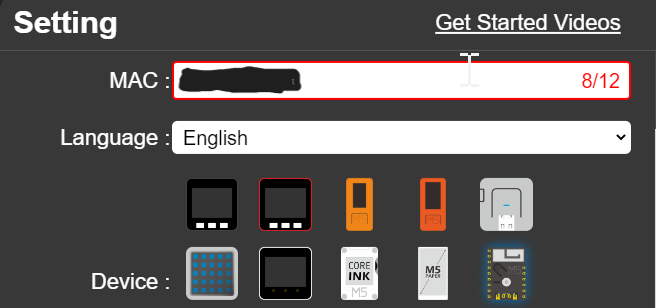
5. Use in Your Firmware
Update secrets.h with the new certificate and you're done!
Why This Works
The certificate generator:
- Reads the public key from slot 0 (the private key never leaves the chip)
- Creates a proper X.509 certificate with valid dates and subject fields
- Signs it using the locked private key (signing happens inside the ATECC608)
- Returns a properly-formatted certificate AWS IoT accepts
Hardware security is maintained - the private key in slot 0 is never exposed, it's just used differently.
Complete Documentation
I've documented the full solution with explanations of what's happening:
- ATECC608 Architecture - How the secure element works, slot configuration, lock mechanism
- Certificate Solution - Why the factory cert fails and how to fix it
- Full Working Example - Complete vibration monitoring IoT demo with AWS IoT Core + Timestream
Why M5Stack Doesn't Document This
The compressed certificate format is a Microchip design decision (saves space on the chip). It's meant to work with:
- Microchip's Trust Platform provisioning tools
- Their specific certificate reconstruction libraries
- Microchip-managed certificate authorities
It was never designed to work directly with third-party services like AWS IoT without special handling.
M5Stack provides a complex registration helper (registration_helper.py) that reconstructs the certificate with special manifest-based APIs, but it's 800+ lines of Python with tons of dependencies.
The approach above is much simpler - just generate a new cert and register it normally.
Tested and Working
This solution is running in production on my demo device:
- MQTTS publishing to AWS IoT Core every 5 seconds
- Data flowing to Amazon Timestream
- Hardware-backed authentication with ATECC608
- Zero issues with certificate validation
Hope This Saves Someone's Week
I fought with this for a week a couple years ago and gave up in frustration. Revisited it recently and finally cracked it. Hopefully this saves others the same pain!
Questions/issues? Comment here or open an issue on GitHub.
Repository: https://github.com/scarolan/grafana-core2aws-iot
Hardware: M5Stack Core2 for AWS
Libraries: ArduinoECCX08, ArduinoBearSSL, M5Unified
Tested: PlatformIO, Arduino framework on ESP32


 image url)