Lesson 23. M5CAMERA. Introduce
-
The purpose of this lesson
Hi! Today we'll meet M5CAMERA (figure 1).

Figure 1
This tutorial will teach you how to use the camera with a web browser.
Short help
- Purpose: used for video surveillance in real time
- Scope: agriculture, science and home life
- Connection interface: Wi-Fi, I2C (Groove), PDM, GPIO, USB Type C
Supply voltage: 5 V - Compatibility: any modern web browser as a client
- Form factor: LEGO compatible
Brief overview
M5CAMERA is the original decision to broadcast images in real time, created by a team of developers M5STACK. This device does not need settings and complex software (figure 1.1).
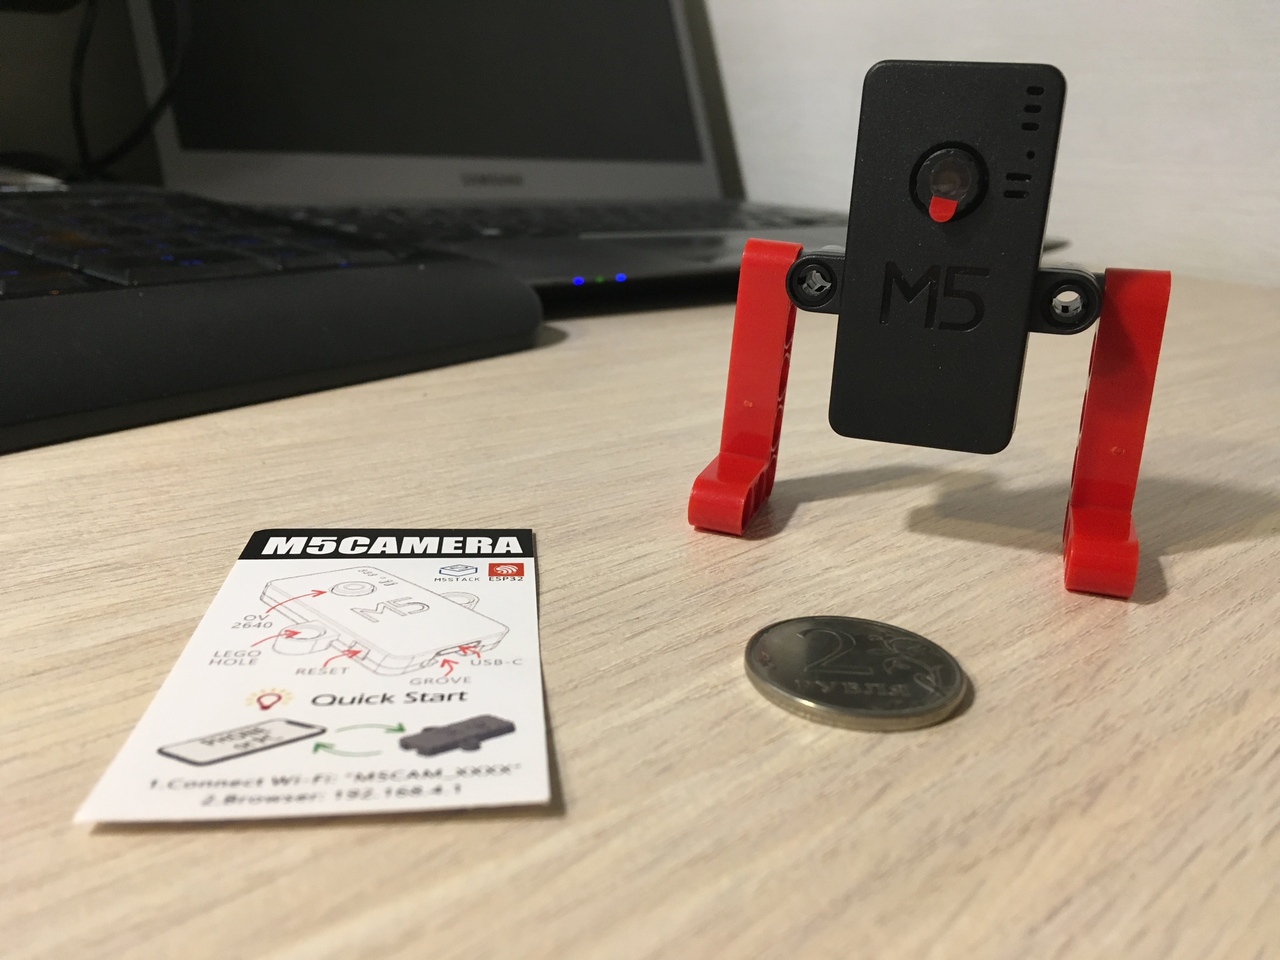
Figure 1.1
The front panel is centered with the camera lens. To the right of the lens there are holes under which there is a power LED. Below, under the lens, is the M5 logo. On the left side panel there is a button to restart the device. On both sides there are LEGO - compatible holes for the bushings for mounting the legs (figure 2).

Figure 2
There is a sticker with tips on the front side of the device. On the bottom side panel there are I2C (Groove) and USB Type C connectors one after another. The front panel and the front panel are partially connected by means of slot latches and fixed by screws of size M5 (figure 2.1).

Figure 2.1
The heart of this device is the ESP32 module from ESPRESSIF. You can additionally purchase and connect motion sensors (I2C), temperature sensors (I2C), microphone (PDM), LEDs (GPIO), battery. The "eye of the device" is an OV2640 camera with a resolution of 2 Megapixels (figure 2.3).

Figure 2.3
Note: do not attempt to adjust the focus of the camera by rotating the lens, otherwise it will damage the camera loop (figure 3).

Figure 3
Let's start!
Connect the camera to a power source (such as a USB cable). Wait for the red power LED to glow. Good. Now use your smartphone / tablet / computer to connect wirelessly to the access point that the camera has created automatically. Go to Settings (figure 4).

Figure 4
Refer to the wireless Wi-Fi settings section (figure 4.1).

Figure 4.1
Your device should find the wireless network M5Cam-test. Connect to this network (figure 4.2).

Figure 4.2
Good! Now open any new browser and go to http://192.168.4.1 (figure 5 - 5.2).

Figure 5

Figure 5.1

Figure 5.2
Downloads
There is nothing in this tutorial ;)
Demo
There is nothing in this tutorial ;)
-
Is there an easy way of connecting it to a wifi router?
Hello! It looks like you're interested in this conversation, but you don't have an account yet.
Getting fed up of having to scroll through the same posts each visit? When you register for an account, you'll always come back to exactly where you were before, and choose to be notified of new replies (either via email, or push notification). You'll also be able to save bookmarks and upvote posts to show your appreciation to other community members.
With your input, this post could be even better 💗
Register Login