Lesson 3. Wi-Fi. Scanner
-
This lesson focuses on the built-in Wi-Fi. We will learn how to search for available wireless networks and see signal strength.
Step 1. Check out some of the functions to work with Wi-Fi ESP32 in list 1;
List1. Functions for working with built-in buttons
- Wi-Fi access.mode(WIFI_STA); Sets the operation mode of the wireless adapter in client mode
- Wi-Fi access.disconnect(); Terminates the wireless connection
- Wi-Fi access.scanNetworks(); Scans the list of available wireless networks and returns their number
- Wi-Fi access.RSSI(i); Returns the signal level of the wireless network with the serial number i
- Wi-Fi access.SSID(i); Returns the name of the wireless network with the serial number i
Step 2. Create a new sketch in the Arduino IDE. Select New on the File menu, (Fig. 1);

Figure 1. Create a new sketchStep 3. Please note that for the built in wireless Wi-Fi module you have to connect the library "Wi-Fi.h". We will write the code (Fig. 2 - 2.4);

Figure 2. Sketch. Page 1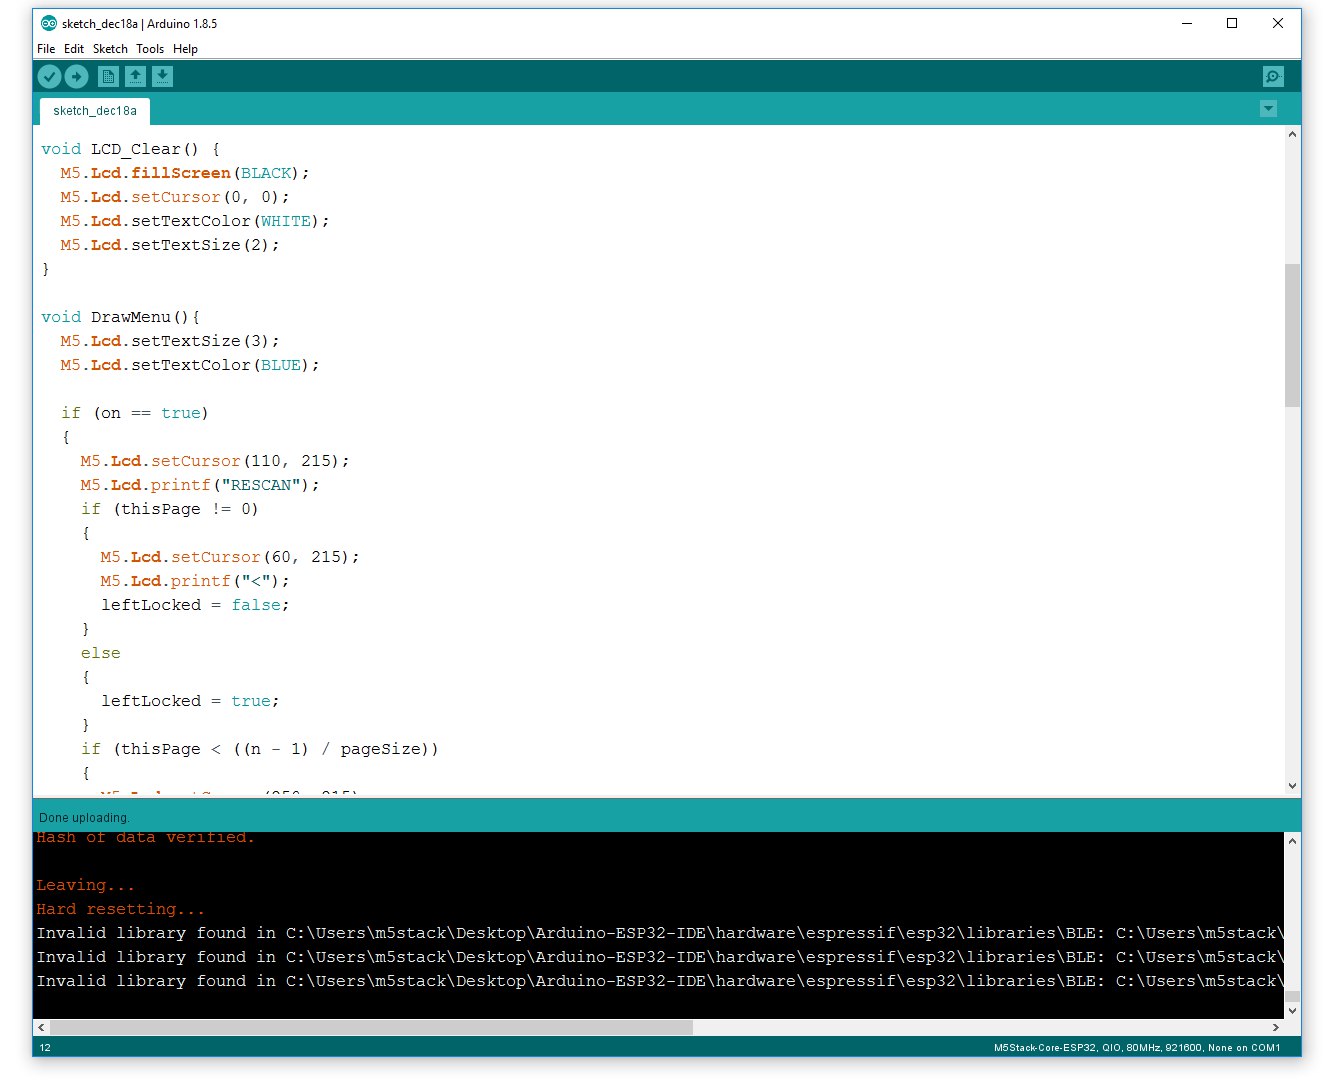
Figure 2.1. Sketch. Page 2
Figure 2.2. Sketch. Page 3
Figure 2.3. Sketch. Page 4
Figure 2.4. Sketch. Page 5Step 4. Click the Upload button (Fig. 3) in order to flash the device;

Figure 3. Download the firmware to the deviceStep 5. When the device firmware is completed, on the device screen will appear the name of our lesson and the signature button, clicking on which the device searches for networks (Fig. 4, 4.1).

Figure 4. Main menu
Figure 4.1. Available wireless networks -
Hi Dimi,
Can you make this one available for download too please? -
@jimit hi! you can download https://yadi.sk/d/azY94lkf3RkRei
-
@dimi
Hi, thanks Dimi.
Downloaded... flashed to unit... works well !! Cheers.
Hello! It looks like you're interested in this conversation, but you don't have an account yet.
Getting fed up of having to scroll through the same posts each visit? When you register for an account, you'll always come back to exactly where you were before, and choose to be notified of new replies (either via email, or push notification). You'll also be able to save bookmarks and upvote posts to show your appreciation to other community members.
With your input, this post could be even better 💗
Register Login