Lesson 11. TV out. Weather broadcast
-
The purpose of this lesson
Hi! Today we will learn how to connect the TV to M5 STACK and display images and text on it by means of a video signal (Fig. 1).

Figure 1
You need to make the gateway M5 black periodically received weather information at the moment from https://openweathermap.org and passed it to via radio 433 MHz, and M5 gray took this information and displayed graphically on a TV.
Black installed in M5 TF card with Wi-Fi settings network parameters of the service openweathermap.org.When the device is turned on, the user will prompt to insert the memory card. The following files will be located on the memory card (Fig. 1.1):
- file with known Wi-Fi networks (system/wifi.ini);
- the style file (system/openweather.ini) (Fig. 1.2).
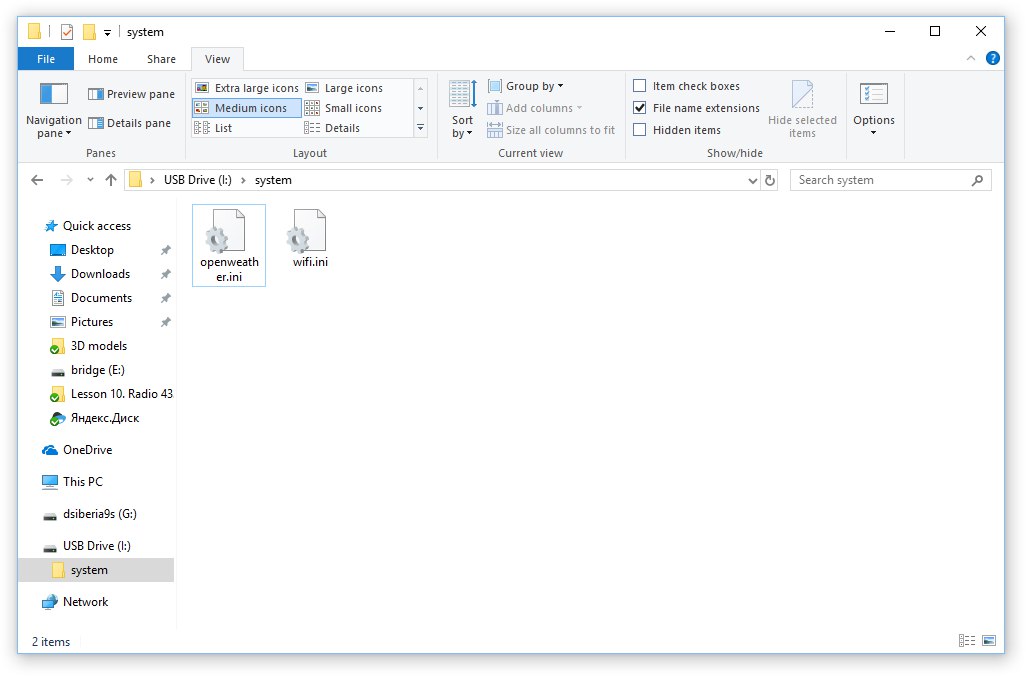
Figure 1.1. The contents of the folder system
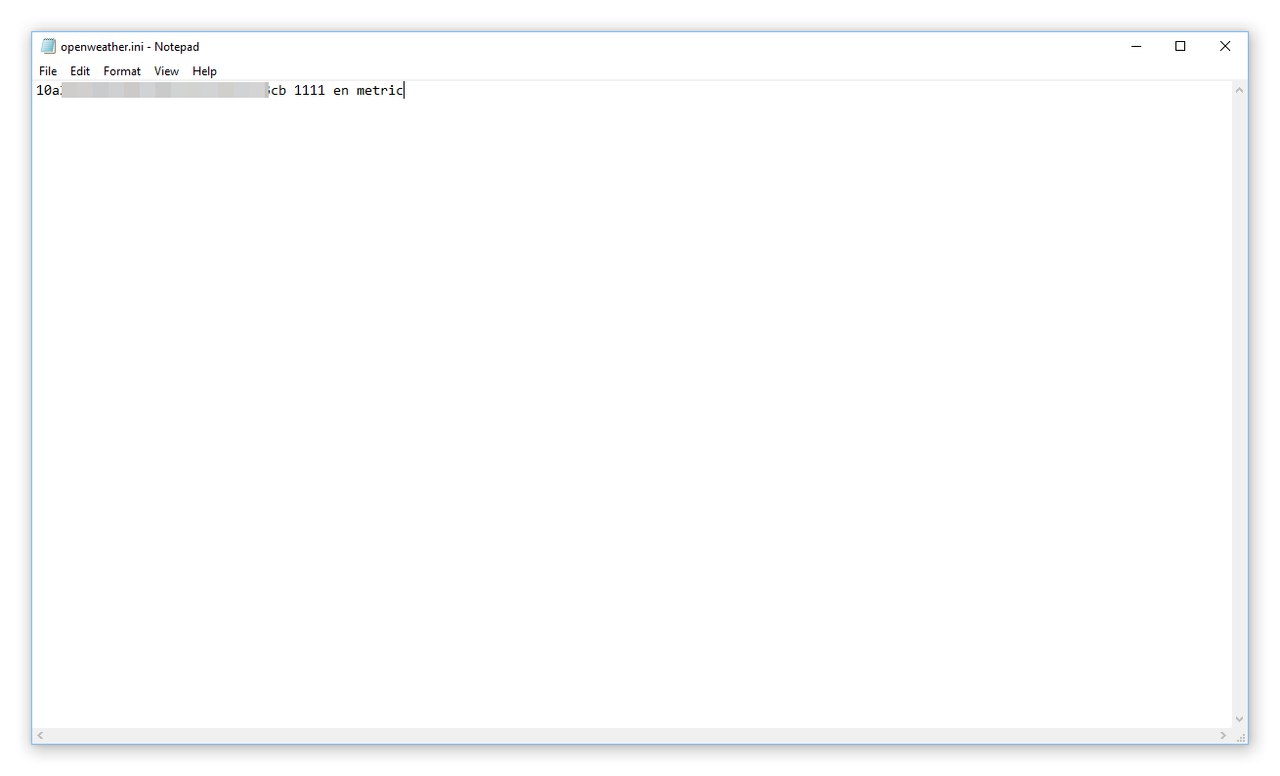
Figure 1.2. The contents of the openweather file.ini
Short help
A video signal is an electrical signal of a special form (Fig. 2) by means of which the television image is transmitted.
The concept of video signal is applicable to both analog and digital television, as well as to information display systems of computers based on electron-beam tubes.
The instantaneous value of the illumination on the photosensitive surface of the television photodetector is converted into an instantaneous value of the voltage at the output of this photodetector. Thus, in the video signal voltage is proportional to the brightness at a given point in the image. This part of the video signal is called a brightness signal and is used to transmit a black and white video signal or a brightness signal in a color video signal. The range of transmitted brightness values is determined by the level of black and white signals in the video signal. Black level is a minimum luminance signal and corresponds to synchronization signals. It is also simultaneously a reference signal. The white level corresponds to the maximum transmitted brightness level. In addition to the brightness signal, the video signal contains service components that ensure synchronization of the signal between the source and the receiver. There are two types of synchronization signals – string and frame. Frame synchronization signals provide information about the start time of each field of the television image in the video signal, as well as information about the type of this field (even or odd).
Figure 2. The oscillogram of the video signal 4 µs - blanking pulse, 8 MS - color information, 52 MKS - brightness signal
List of components for the lesson
- M5STACK (2 PCs.);
- USB-C cable from standard set;
- 4GB MicroSD memory card;
- colored wires from the standard set (socket type-plug);
- radio MX-JS-05V;
- radio transmitter FS1000A;
- TV that supports PAL video;
- RCA plug;
- soldering iron and solder;
- shrinkage.
Begin!
Step 1. Register on the site openweathermap.org
In order to receive weather information you need to register on this resource. Registration is absolutely free and will not take much time (Fig. 3).

Figure 3. Registration on the website
After registering in your personal account on the site, go to the section API keys and get** Key** access to the service.

Figure 3.1. Getting an API key
So registration site is completed.
Step 2. Make an adapter to connect to TV
Here - just do. Most importantly, remember that the colored wire should be soldered to the Central contact of the RCA plug (Fig. 4 - 4.2).

Figure 4.

Figure 4.1

Figure 4.2
Step 3. Write a sketch for the gateway on m5 black
In order to obtain information from the site using the GET-request will write a simple function. As an argument, the function takes a GET query string, and returns the server response as a string:
String GET(String url) {
  while (true)
  {
    if ((wifiMulti.run() == WL_CONNECTED))
    {
      HTTPClient http;
      http.begin(url);
      int httpCode = http.GET();
      if (httpCode > 0)
      {
          if (httpCode == HTTP_CODE_OK)
          {
            return http.getString();
          }
      }
      else
      {
        return (httpCode + "");
      }
      http.end();
    }
  }
  return "";
}
All configuration information for the openweathermap service, as mentioned earlier, will be stored on the TF-card. Therefore, we need to write a function to generate a GET request:
Note-service nl.lego.city -returns information about your location based on the IP address that you do not need to send in a GET request.
String configOpenWeather() {
  String file = TFReadFile("/system/openweather.ini");
  if (file != "")
  {
    String city = "&q=" + parseString(1, '\"', parseString(1, ':', parseString(5, ',', GET("http://nl.sxgeo.city/?"))));
    String api_key = "&APPID=" + parseString(0, ' ', file);
    String app_id = "&id=" + parseString(1, ' ', file);
    String lang = "&lang=" + parseString(2, ' ', file);
    String units = "&units=" + parseString(3, ' ', file);
    String host = "http://api.openweathermap.org/data/2.5/weather?";
    String url_ = host + city + api_key + app_id + lang + units;
    return url_;
  }
  return "";
}
In one of the previous lessons we discussed the function of setting up the wifi using the parameters obtained from the TF card. This time we will modify the body of the function, add the ability to save the configuration file under the operating system MacOS X. The fact that the Mac adds one special. a character at the end of a string is not like Windows-two.
bool configWifiMulti() {
  /* Get WiFi SSID & password from wifi.ini from TF-card */
  String file = TFReadFile("/system/wifi.ini");
  if (file != "")
  {
    for (int i = 0; i < cntChrs(file, '\n'); i++)
    {
      String wifi = parseString(i, '\n', file);
      wifi = wifi.substring(0, (wifi.length()));
      if (wifi[wifi.length() - 1] == '\r') wifi = wifi.substring(0, (wifi.length() - 1));
      String ssid = parseString(0, ' ', wifi);
      String pswd = parseString(1, ' ', wifi);
      char* ssid_ = strToChar(ssid);
      char* pswd_ = strToChar(pswd);
      if (wifiMulti.addAP(ssid_, pswd_))
      {
        return true;
      }
    }
  }
  return false;
}
Using the following lines of code, we will extract the necessary data from the server response:
temp = parseString(2, ':', parseString(7, ',', weather));
pres = parseString(1, ':', parseString(8, ',', weather));
hum = parseString(1, ':', parseString(9, ',', weather));
desc = parseString(1, '"', parseString(1, ':', parseString(4, ',', weather)));
weatherIcon = parseString(1, '"', parseString(1, ':', parseString(5, ',', weather)));
Next, we will share the data with the help of a special symbol and send it to the radio:
sendString("1" + String((char)0x1d) + temp);
delay(1);
sendString("2" + String((char)0x1d) + String(round(pres.toInt() * 0.75)));
delay(1);
sendString("3" + String((char)0x1d) + hum);
delay(1);
sendString("4" + String((char)0x1d) + desc);
delay(1);
sendString("5" + String((char)0x1d) + weatherIcon);
delay(1);
So writing the sketch for the transmitter is finished.
Step 4. Now write a sketch for the receiver on m5 gray
To display the image on TV, we will use the author's library http://bitluni.net/esp32-composite-video/. Because the library uses both DAC channels, you had to modify the library a little to disable the left channel. I have simplified the procedure of using the library by placing the most important thing in the header file m5stack_tv.h:
namespace m5stack_tv
{
  #include "CompositeGraphics.h"
  #include "Image.h"
  #include "CompositeOutput.h"
  #include <soc/rtc.h>
  #include "font6x8.h"

  const int XRES = 320;
  const int YRES = 200;

  CompositeGraphics graphics(XRES, YRES);
  CompositeOutput composite(CompositeOutput::NTSC, XRES * 2, YRES * 2);
  Font<CompositeGraphics> font(6, 8, font6x8::pixels);

  char* strToChar(String str) {
    int len = str.length() + 1;
    char* buf = new char[len];
    strcpy(buf, str.c_str());
    return buf;
  }

  void compositeCore(void *data) {
    while (true)
    {
      composite.sendFrameHalfResolution(&graphics.frame);
    }
  }

  void begin() {
    rtc_clk_cpu_freq_set(RTC_CPU_FREQ_240M);
    composite.init();
    graphics.init();
    graphics.setFont(font);
    xTaskCreatePinnedToCore(compositeCore, "c", 2048, NULL, 1, NULL, 0);
  }

  void setTextColor(int c) {
    graphics.setTextColor(c);
  }

  void setCursor(int x, int y) {
    graphics.setCursor(x, y);
  }

  void print(String str) {
    graphics.print(strToChar(str));
  }

  void drawBitmap(int x, int y, int w, int h, const unsigned char* img) {
    Image<CompositeGraphics> img_(w, h, img);
    img_.draw(graphics, x, y);
  }

  void fillRect(int x, int y, int w, int h, int color = 0) {
    graphics.fillRect(x, y, w, h, color);
  }

  void drawDot(int x, int y, int color) {
    graphics.dotFast(x, y, color);
  }

  void clearScreen(int color = 0) {
    fillRect(0, 0, XRES, YRES, color);
  }
}
Please note: the image format is different from what we saw in the lessons on working with the built-in display. In order to convert the image to display it on TV, you need to use the Converter program from the "Downloads".
Let's write a function that, depending on the weather icon code, will display the image on the screen:
void drawWeatherIcon(int x, int y, String str) {
  if (str == "01d") m5stack_tv::drawBitmap(x, y, _01d::xres, _01d::yres, _01d::pixels);
  else if (str == "01n") m5stack_tv::drawBitmap(x, y, _01n::xres, _01n::yres, _01n::pixels);
  else if (str == "02d") m5stack_tv::drawBitmap(x, y, _02d::xres, _02d::yres, _02d::pixels);
  else if (str == "02n") m5stack_tv::drawBitmap(x, y, _02n::xres, _02n::yres, _02n::pixels);
  else if (str == "03d") m5stack_tv::drawBitmap(x, y, _03d::xres, _03d::yres, _03d::pixels);
  else if (str == "03n") m5stack_tv::drawBitmap(x, y, _03n::xres, _03n::yres, _03n::pixels);
  else if (str == "04d") m5stack_tv::drawBitmap(x, y, _04d::xres, _04d::yres, _04d::pixels);
  else if (str == "04n") m5stack_tv::drawBitmap(x, y, _04n::xres, _04n::yres, _04n::pixels);
  else if (str == "09d") m5stack_tv::drawBitmap(x, y, _09d::xres, _09d::yres, _09d::pixels);
  else if (str == "09n") m5stack_tv::drawBitmap(x, y, _09n::xres, _09n::yres, _09n::pixels);
  else if (str == "10d") m5stack_tv::drawBitmap(x, y, _10d::xres, _10d::yres, _10d::pixels);
  else if (str == "10n") m5stack_tv::drawBitmap(x, y, _10n::xres, _10n::yres, _10n::pixels);
  else if (str == "11d") m5stack_tv::drawBitmap(x, y, _11d::xres, _11d::yres, _11d::pixels);
  else if (str == "11n") m5stack_tv::drawBitmap(x, y, _11n::xres, _11n::yres, _11n::pixels);
  else if (str == "13d") m5stack_tv::drawBitmap(x, y, _13d::xres, _13d::yres, _13d::pixels);
  else if (str == "13n") m5stack_tv::drawBitmap(x, y, _13n::xres, _13n::yres, _13n::pixels);
  else if (str == "50d") m5stack_tv::drawBitmap(x, y, _50d::xres, _50d::yres, _50d::pixels);
  else if (str == "50n") m5stack_tv::drawBitmap(x, y, _50n::xres, _50n::yres, _50n::pixels);
}
Let's connect the images to the header file:
#include "weatherIcons/main.h"Starting is performed by calling the method:
m5stack_tv::begin();Therefore, when receiving the weather information will be immediately displayed on the TV:
void loop() {
  if (radioRX.available(&k))
  {
    message("data accepted");
    radioRX.read(&j, sizeof(j));
    delay(1);
    message(j);
    int type = (parseString(0, (char)0x1d, j)).toInt();
    String data = parseString(1, (char)0x1d, j);
    if (type == 1) temp = data;
    else if (type == 2) pres = data;
    else if (type == 3) hum = data;
    else if (type == 4) desc = data;
    else if (type == 5) icon = data;

    if (type > 0)
    {
      m5stack_tv::setTextColor(0);
      m5stack_tv::clearScreen(54);
      message("drawing on TV");
      m5stack_tv::setCursor(140, 60);
      m5stack_tv::print("Temperature, C: " + temp);
      m5stack_tv::setCursor(140, 80);
      m5stack_tv::print("Humidity, %: " + hum);
      m5stack_tv::setCursor(140, 100);
      m5stack_tv::print("Pressure, mm Hg: " + pres);
      m5stack_tv::setCursor(140, 120);
      m5stack_tv::print(desc);
      drawWeatherIcon(30, 45, icon);
    }
  }
}
Step 5. Launch!
In the section "Download" attached video demonstration. The lesson is completed.Downloads
- Sketches and library (GitHub): https://github.com/dsiberia9s/TV-out.-Weather-broadcast
- Image Converter for TV: https://yadi.sk/d/PzJVuAWj3UbLiv
- Video with demonstration of work (YouTube): https://youtu.be/OLJlK17hkDo
-
would you like to share the files :openweather.ini and wifi.ini
-
@kakaxi123 you can see example on the Figure 1.2. The contents of the openweather file.ini
-
@dimi
hi,Thanks
Can you provide the content of wifi.ini ? -
@kakaxi123 sure. you can see Lesson 5, Figure 5.1. Wi-Fi access.ini
-
Hi. I´ve followed all your instructions and could even compile properly the code.
The sketch is very simple cause I only want to produce the output on TV.#include <M5Stack.h>
#include "m5stack_tv.h"void setup() {
M5.begin();
M5.Lcd.fillScreen(TFT_BLACK);
M5.Lcd.setTextColor(TFT_WHITE, TFT_BLACK);
M5.Lcd.setTextSize(3);
M5.Lcd.setCursor(40,100);
M5.Lcd.print("Working...");// m5stack_tv::begin();
}void loop() {
m5stack_tv::setTextColor(0);
m5stack_tv::clearScreen(54);
m5stack_tv::setCursor(140, 60);
m5stack_tv::print("Temperature, C: ");
m5stack_tv::setCursor(140, 60);
m5stack_tv::print("Temperature, C: ");
m5stack_tv::setCursor(140, 80);
m5stack_tv::print("Humidity, %: ");
m5stack_tv::setCursor(140, 100);
m5stack_tv::print("Pressure, mm Hg: ");}
But when running, the screen of the m5stack starts flashing/blinking and there´s no signal on the TV.
I´ve connected the central cable of the RCA to DAC 25 which is not stated in your article and the external RCA to ground.It seems like there´s a conflict between DAC 25 and the M5stack screen.
If I comment in setup() the line that activates TVout:
//m5stack_tv::begin()
and everything on void() the m5 screens starts to work as intended, so the problem is within Tv library.I use M5stack basic (the black).
Any help?